Tạo người dùng mới
Đăng nhập root Để đăng nhập vào root, bạn cần biết địa chỉ IP Public của server và mật khẩu cho tài khoản người dùng root.
ssh root@[IP_server]
Tạo người dùng mới có tên là onedata:
adduser onedata
và đặt mật khẩu người dùng:
passwd onedata
Để tránh phải đăng xuất khỏi người dùng bình thường và đăng nhập với tài khoản root, bạn có thể thiết lập người dùng có đặc quyền tương tự với tài khoản root. Điều này cho phép người dùng chạy lệnh có quyền giống như tài khoản root bằng cách đặt từ sudo trước mỗi lệnh.
Thêm người dùng vào nhóm wheel:
gpasswd -a onedata wheel
Giờ đây người dùng có thể chạy lệnh với các đặc quyền của người dùng root
Người dùng hệ điều hành Linux nên sử dụng SSH key pair
Cách sau là phương pháp thực hiện từ máy Client:
Từ máy Client thực hiện SSH vào Server:
ssh user@ip
Từ máy Client, tạo một cặp khóa key mới:
ssh-keygen
Output:
[root@onedata ~]# ssh-keygen
Generating public/private rsa key pair.
Enter file in which to save the key (/root/.ssh/id_rsa):
Nhấn Enter để thực hiện lưu vào /root/.ssh/id_rsa hoặc nhập đường dẫn mới.
Output:
Generating public/private rsa key pair.
Enter file in which to save the key (/root/.ssh/id_rsa):
/root/.ssh/id_rsa already exists.
Overwrite (y/n)? y
Nhập y đề chèn cặp key mới vì đã có cặp key cũ.
Output:
Enter passphrase (empty for no passphrase):
Enter same passphrase again:
Đây là tùy chọn thêm 1 chuỗi mật khẩu, được khuyến nghị để tăng tính bảo mật. Nếu nhập chuỗi passpharase này , bạn sẽ phải gõ thêm chúng bất kỳ lúc nào sử dụng key( chỉ trừ khi sử dụng phần mềm để SSH đã lưu trữ passphase). Có thể không sử dụng mã này.
Copy Public key vào server:
Sử dụng câu lệnh:
ssh-copy-id [userserver]@[IP_server]
Output:
[root@onedata ~]# ssh-copy-id root@[ip_server]
/usr/bin/ssh-copy-id: INFO: Source of key(s) to be installed: "/root/.ssh/id_rsa.pub"
The authenticity of host '192.168.10.4 (192.168.10.4)' can't be established.
ECDSA key fingerprint is SHA256:zk+SKFdTIbHUDs/Xd9M2c940G3Chbw2EejrF/psUzCI.
ECDSA key fingerprint is MD5:1d:cd:25:a6:3a:5e:6e:ac:61:e4:aa:26:69:f7:cb:d7.
Are you sure you want to continue connecting (yes/no)? yes
# Nhập Password
root@192.168.10.4's password:

Number of key(s) added: 1

Now try logging into the machine, with:   "ssh 'root@192.168.10.4'"
and check to make sure that only the key(s) you wanted were added.
Như vậy đã file id.rsa.pub đã được đưa nên server.
Tắt xác thực mật khẩu trên server Mặc định, tồn tại song song cả 2 chế độ xác thực qua SSH key và xác thực bằng mật khẩu. Vì vậy vẫn có khả năng Server bị tấn công bằng Brute-force.
Trên server, thực hiện sửa file cấu hình sshd:
vi /etc/ssh/sshd_config
Tại nền Visual thực hiện tìm lệnh như sau: /PasswordAuthentication
#PasswordAuthentication yes
Sửa thành:
PasswordAuthentication no
Restart dịch vụ SSH:
systemctl restart sshd
Thực hiện đăng nhập mà không có key:
ssh root@192.168.10.4
Warning: Permanently added '192.168.10.4' (RSA) to the list of known hosts.
Permission denied (publickey,gssapi-keyex,gssapi-with-mic).
Thực hiện GenKey bằng MobaXterm
Khi thực hiện SSH từ máy MobaX vào sẽ không được vì đã tắt xác thực mật khẩu mà muốn SSH vào được Server sẽ phải làm như sau:
- Thực hiện download file /root/.ssh/id_rsa về máy Moba:
- Thực hiện tạo Genkey Private:
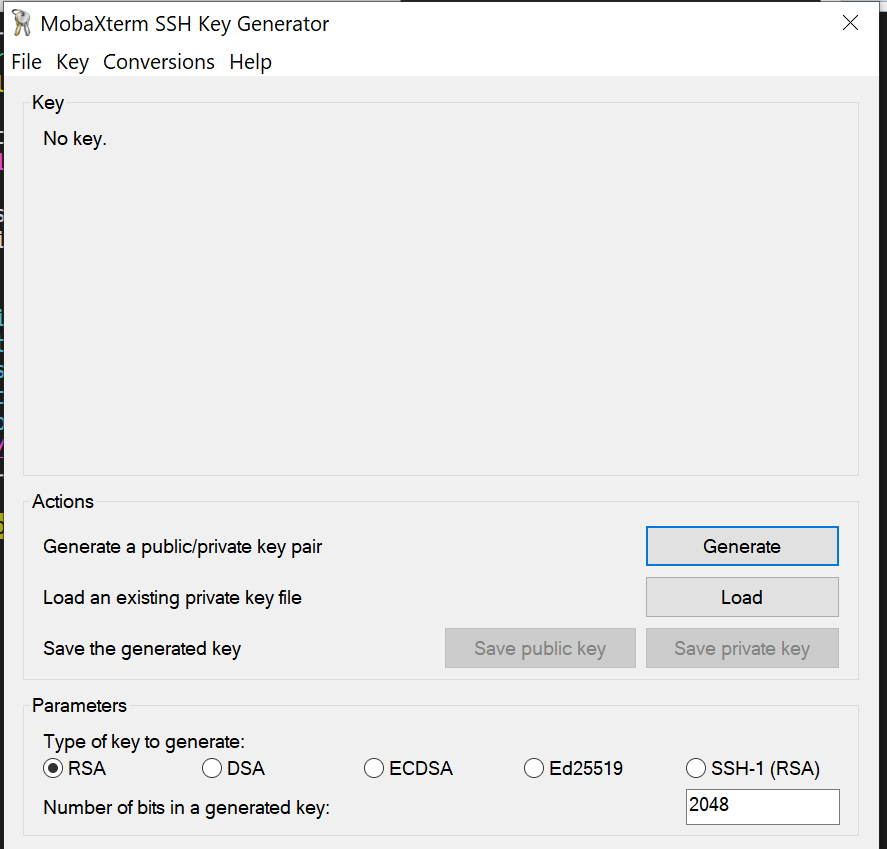
- Mở MobaXterm => chọn Tool => MobaKeyGen (SSH Key generator)
- Sẽ hiện thị bẳng sau
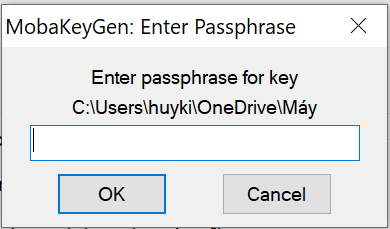
- Click Load => chọn file private key đã tải về từ máy CLient
- Nhập Password passphrase
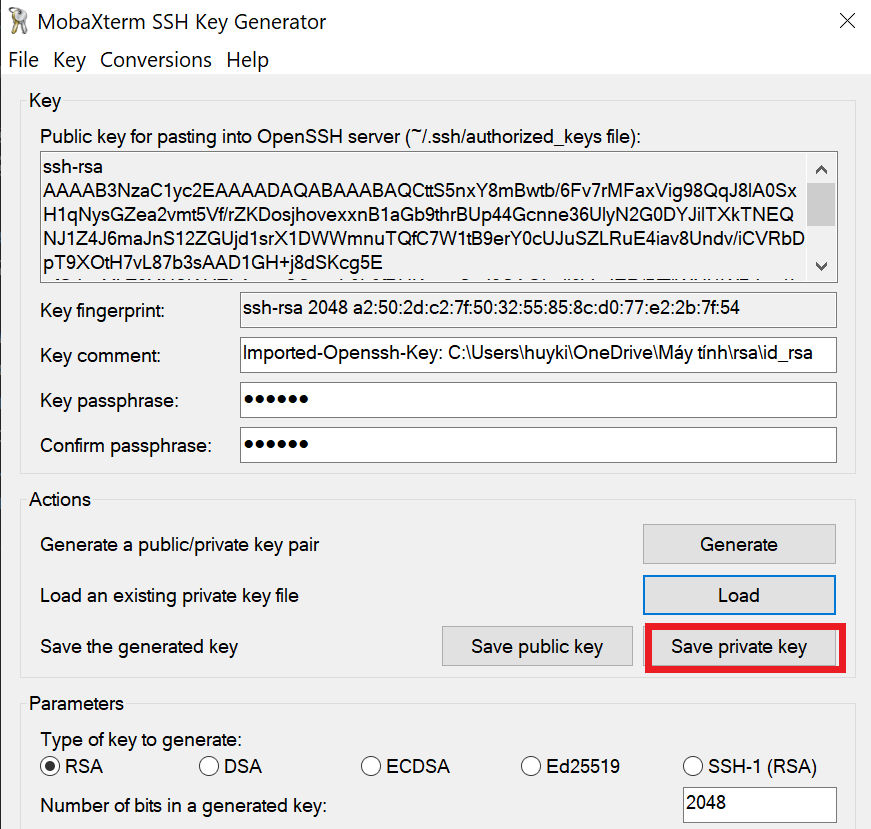
- Sau khi đã up Private key click Save private key
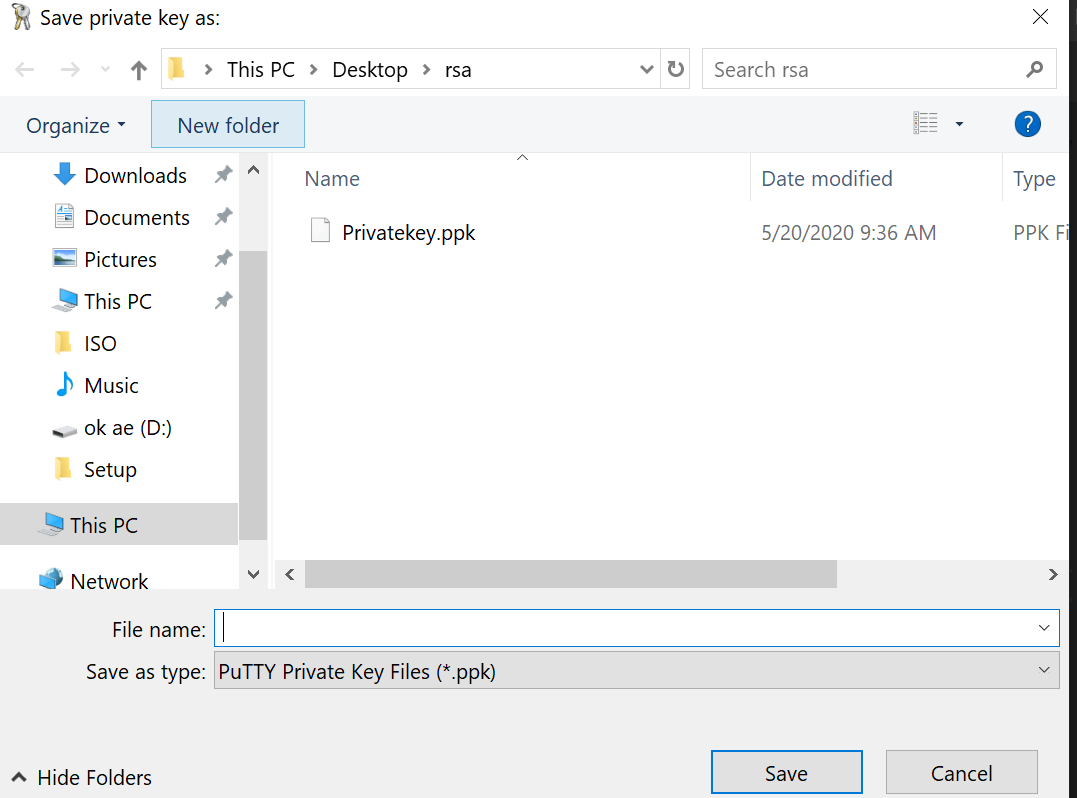
- Chọn lưu lưu file .PPK trên máy Moba:
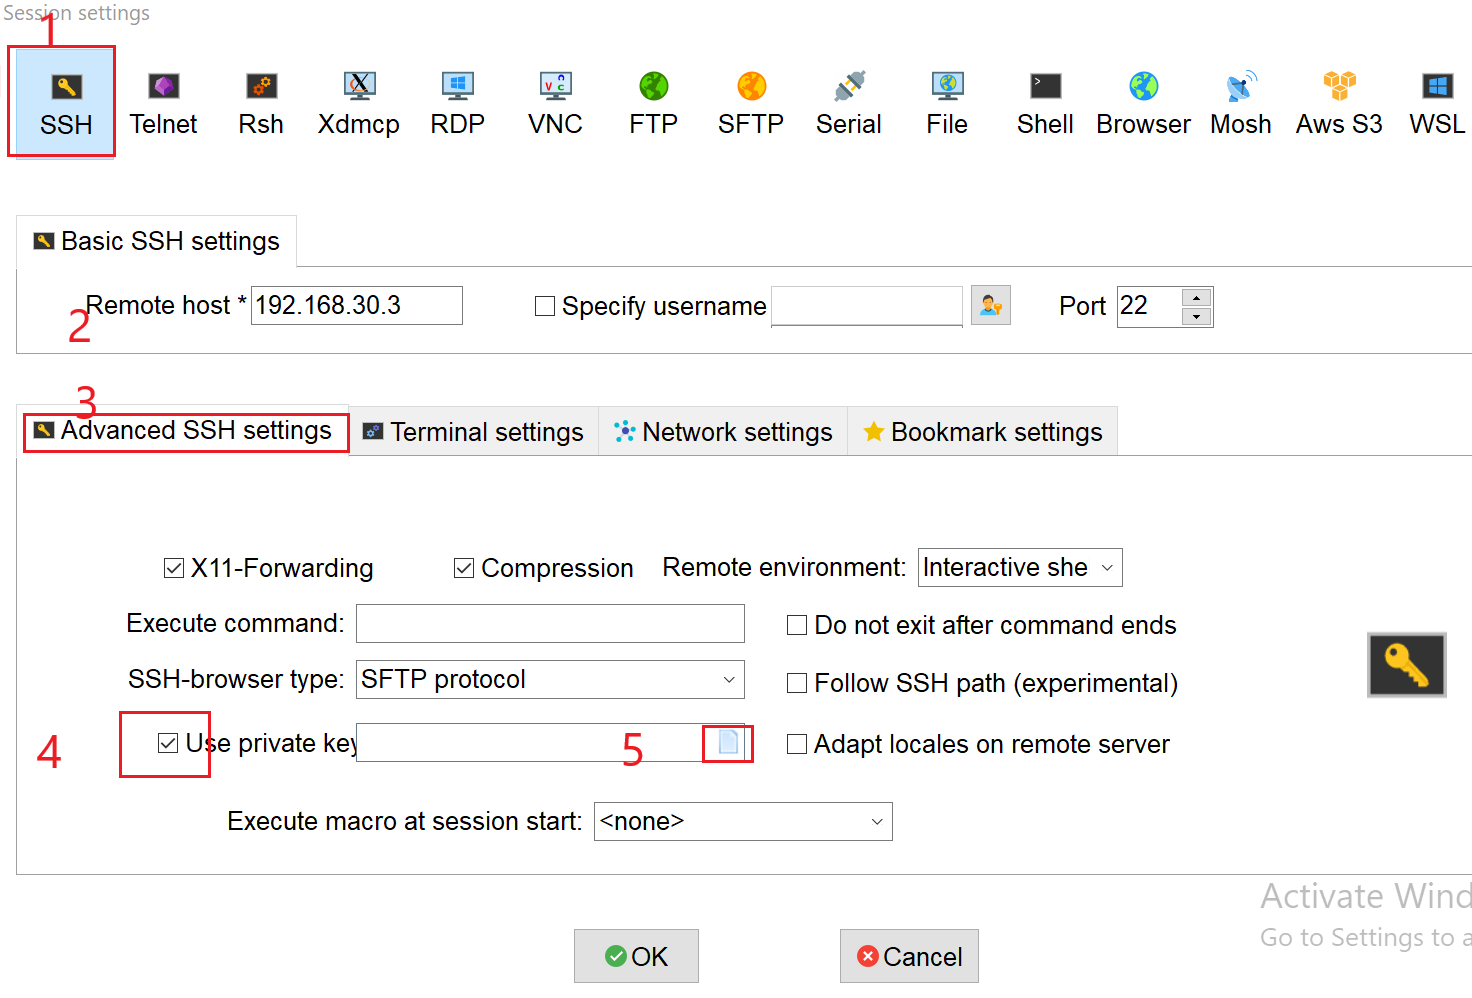
- Tiếp theo, Thực hiện SSH vào máy Server:
- 1- New seeson => SSH
- 2- Nhập địa chỉ IP cần SSH
- 3- Advanced SSH Setting
- 4- Sử dụng Private key
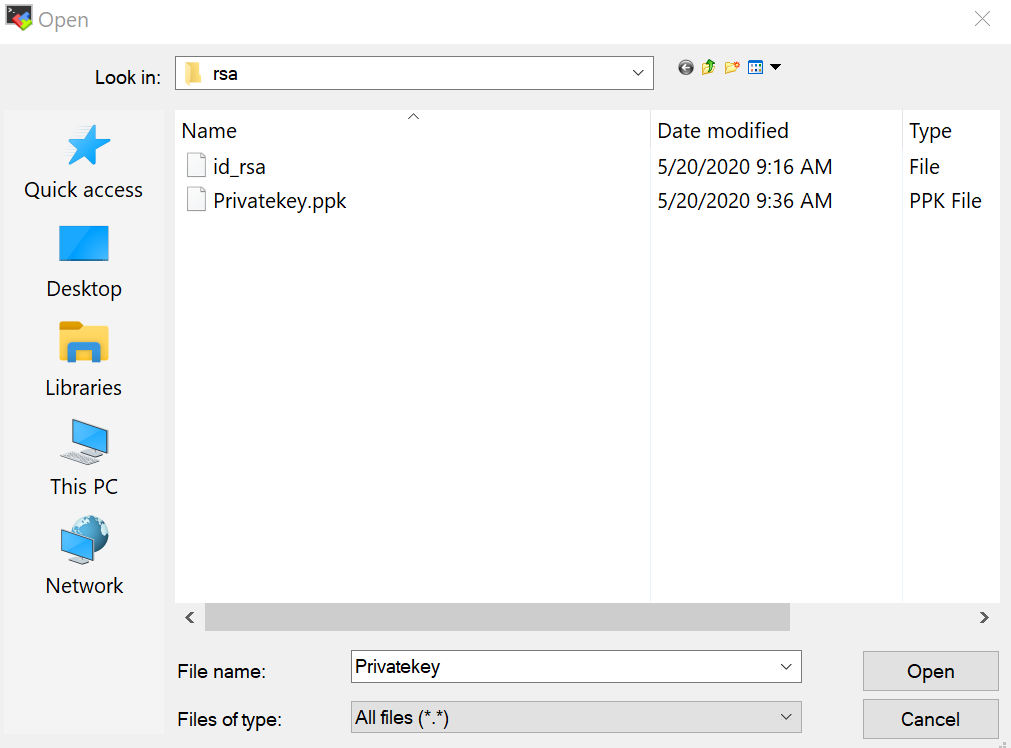
- 5- Chọn link có đuôi .ppk đã tạo ở trên
- 6- Ok
- Nhập User và Passphrase để đăng nhập:
- Đăng nhập thành công